Teaching your dog to release something from their mouth is one of those skills that sounds simple until you're standing there with a dog who has absolutely no intention of giving up the toy.
Instead of turning it into a wrestling match, we like to make the release part of the game.
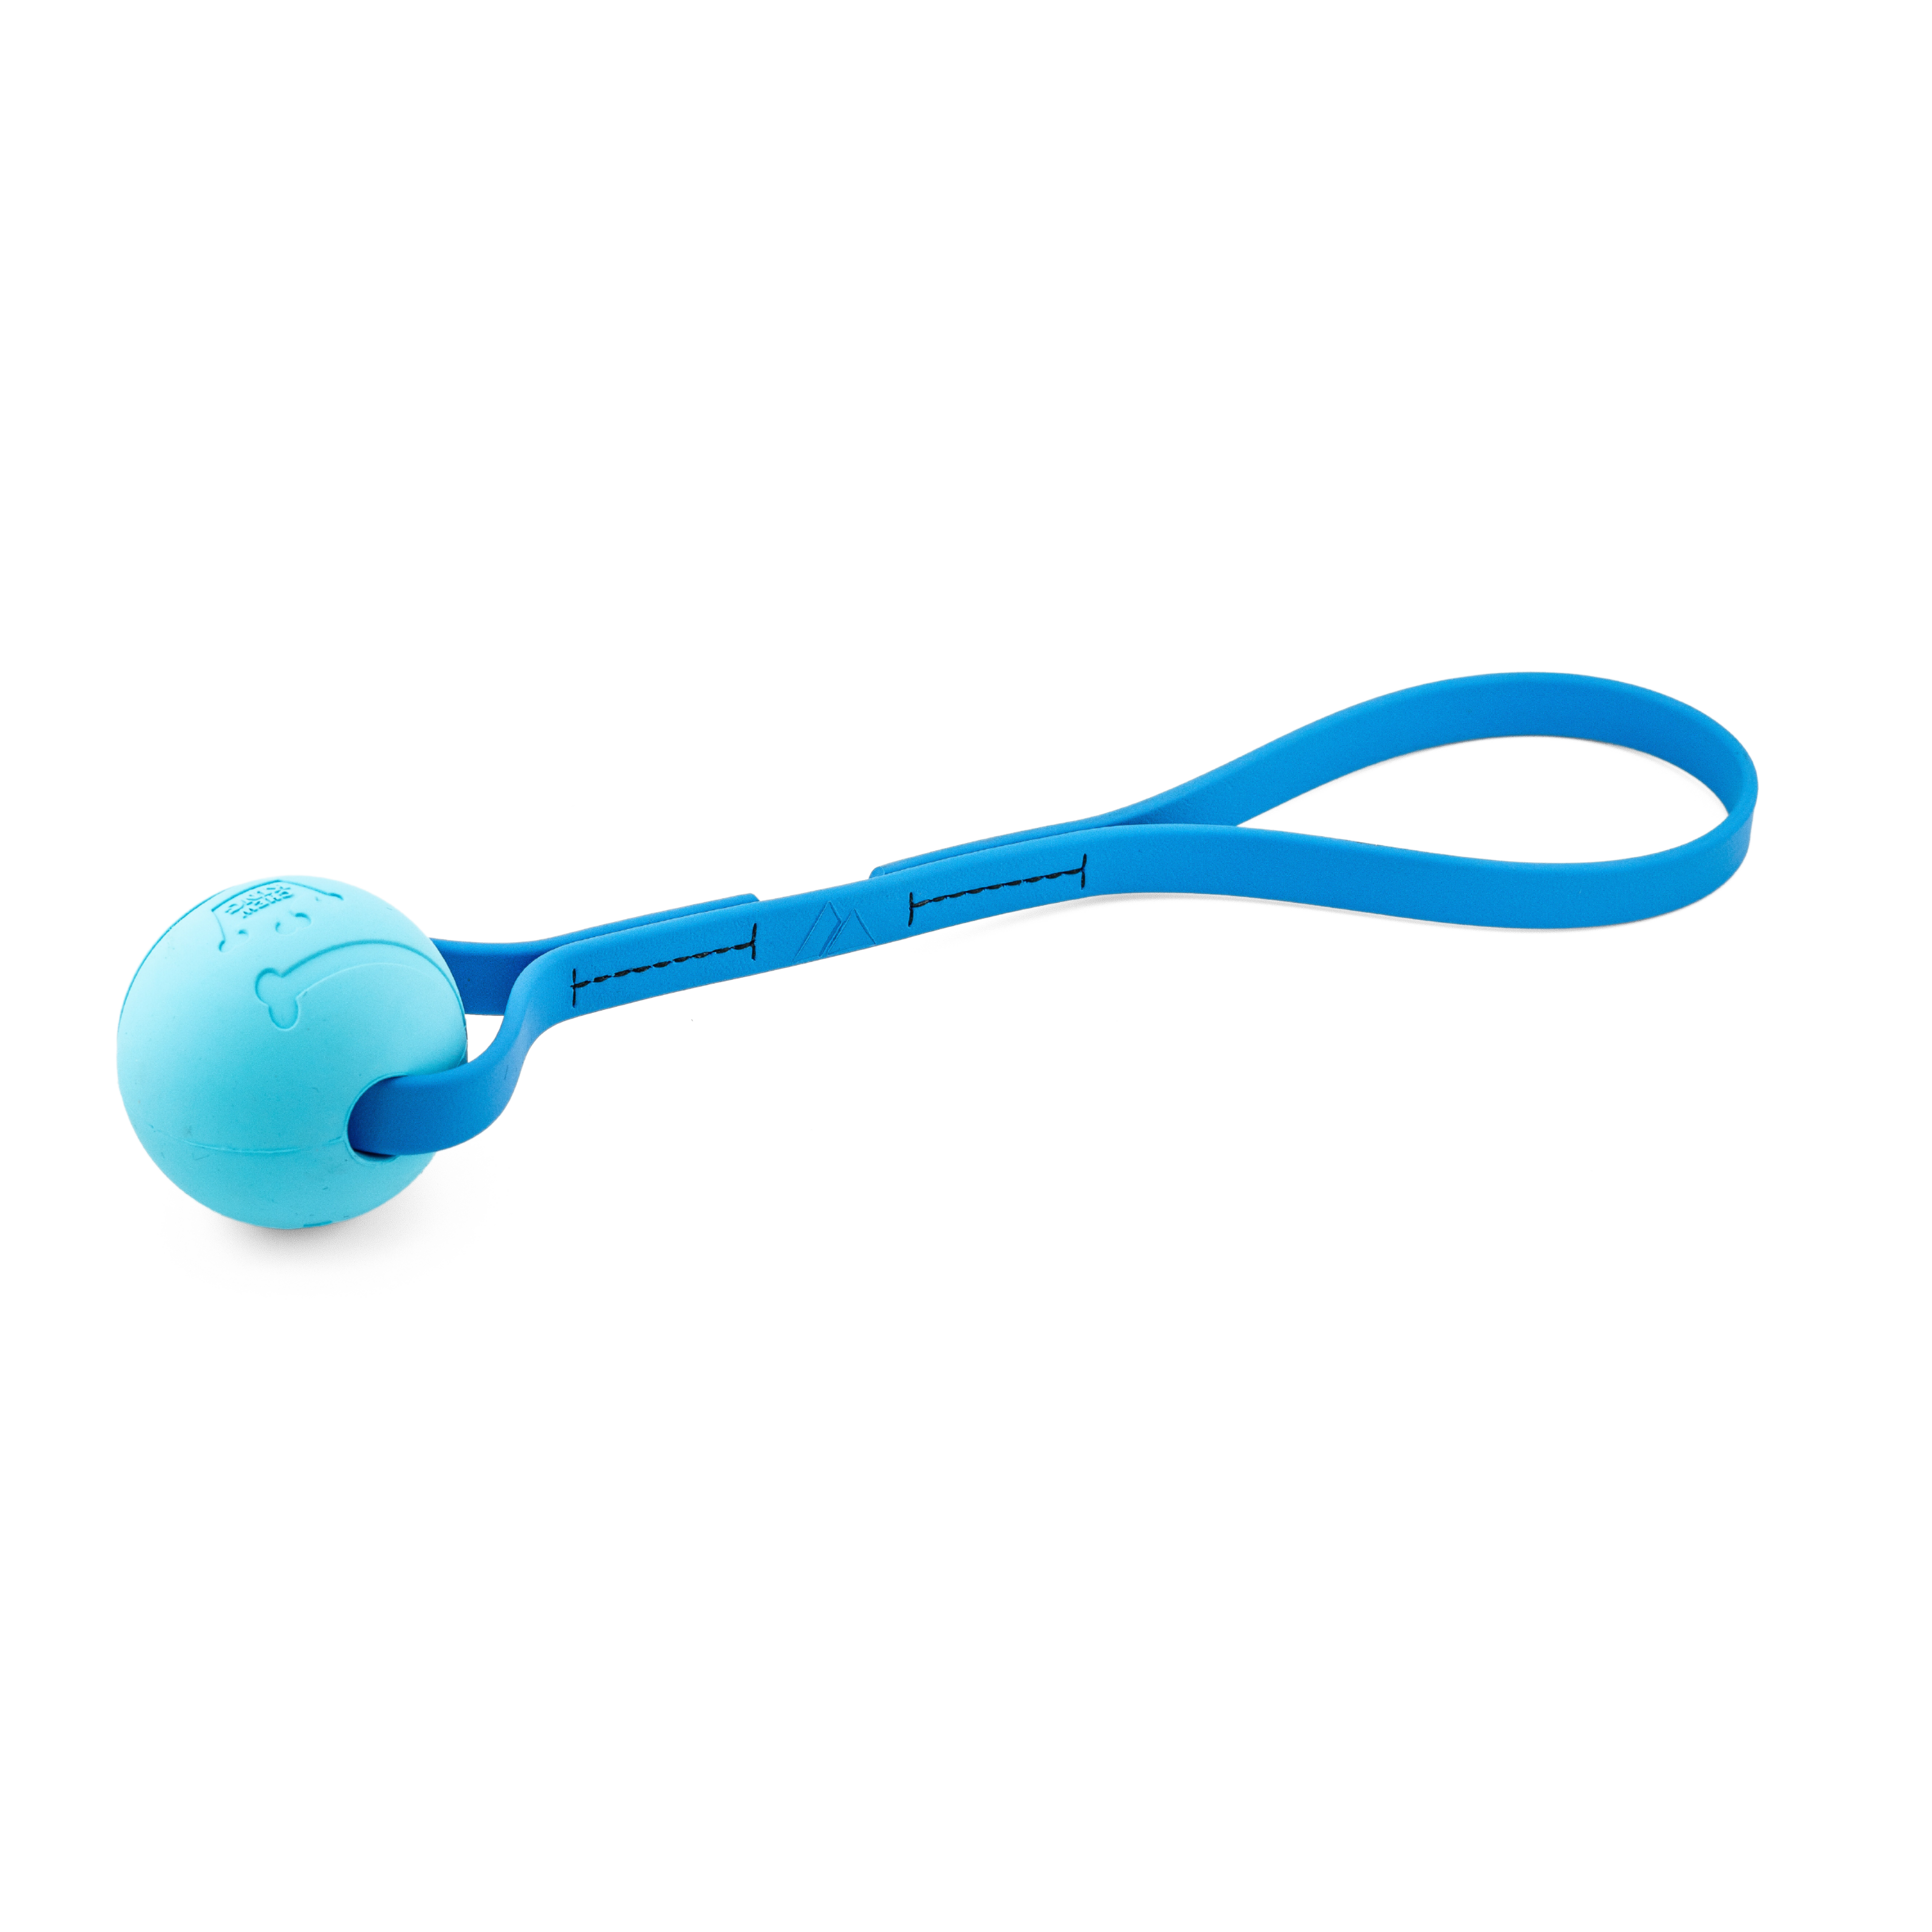
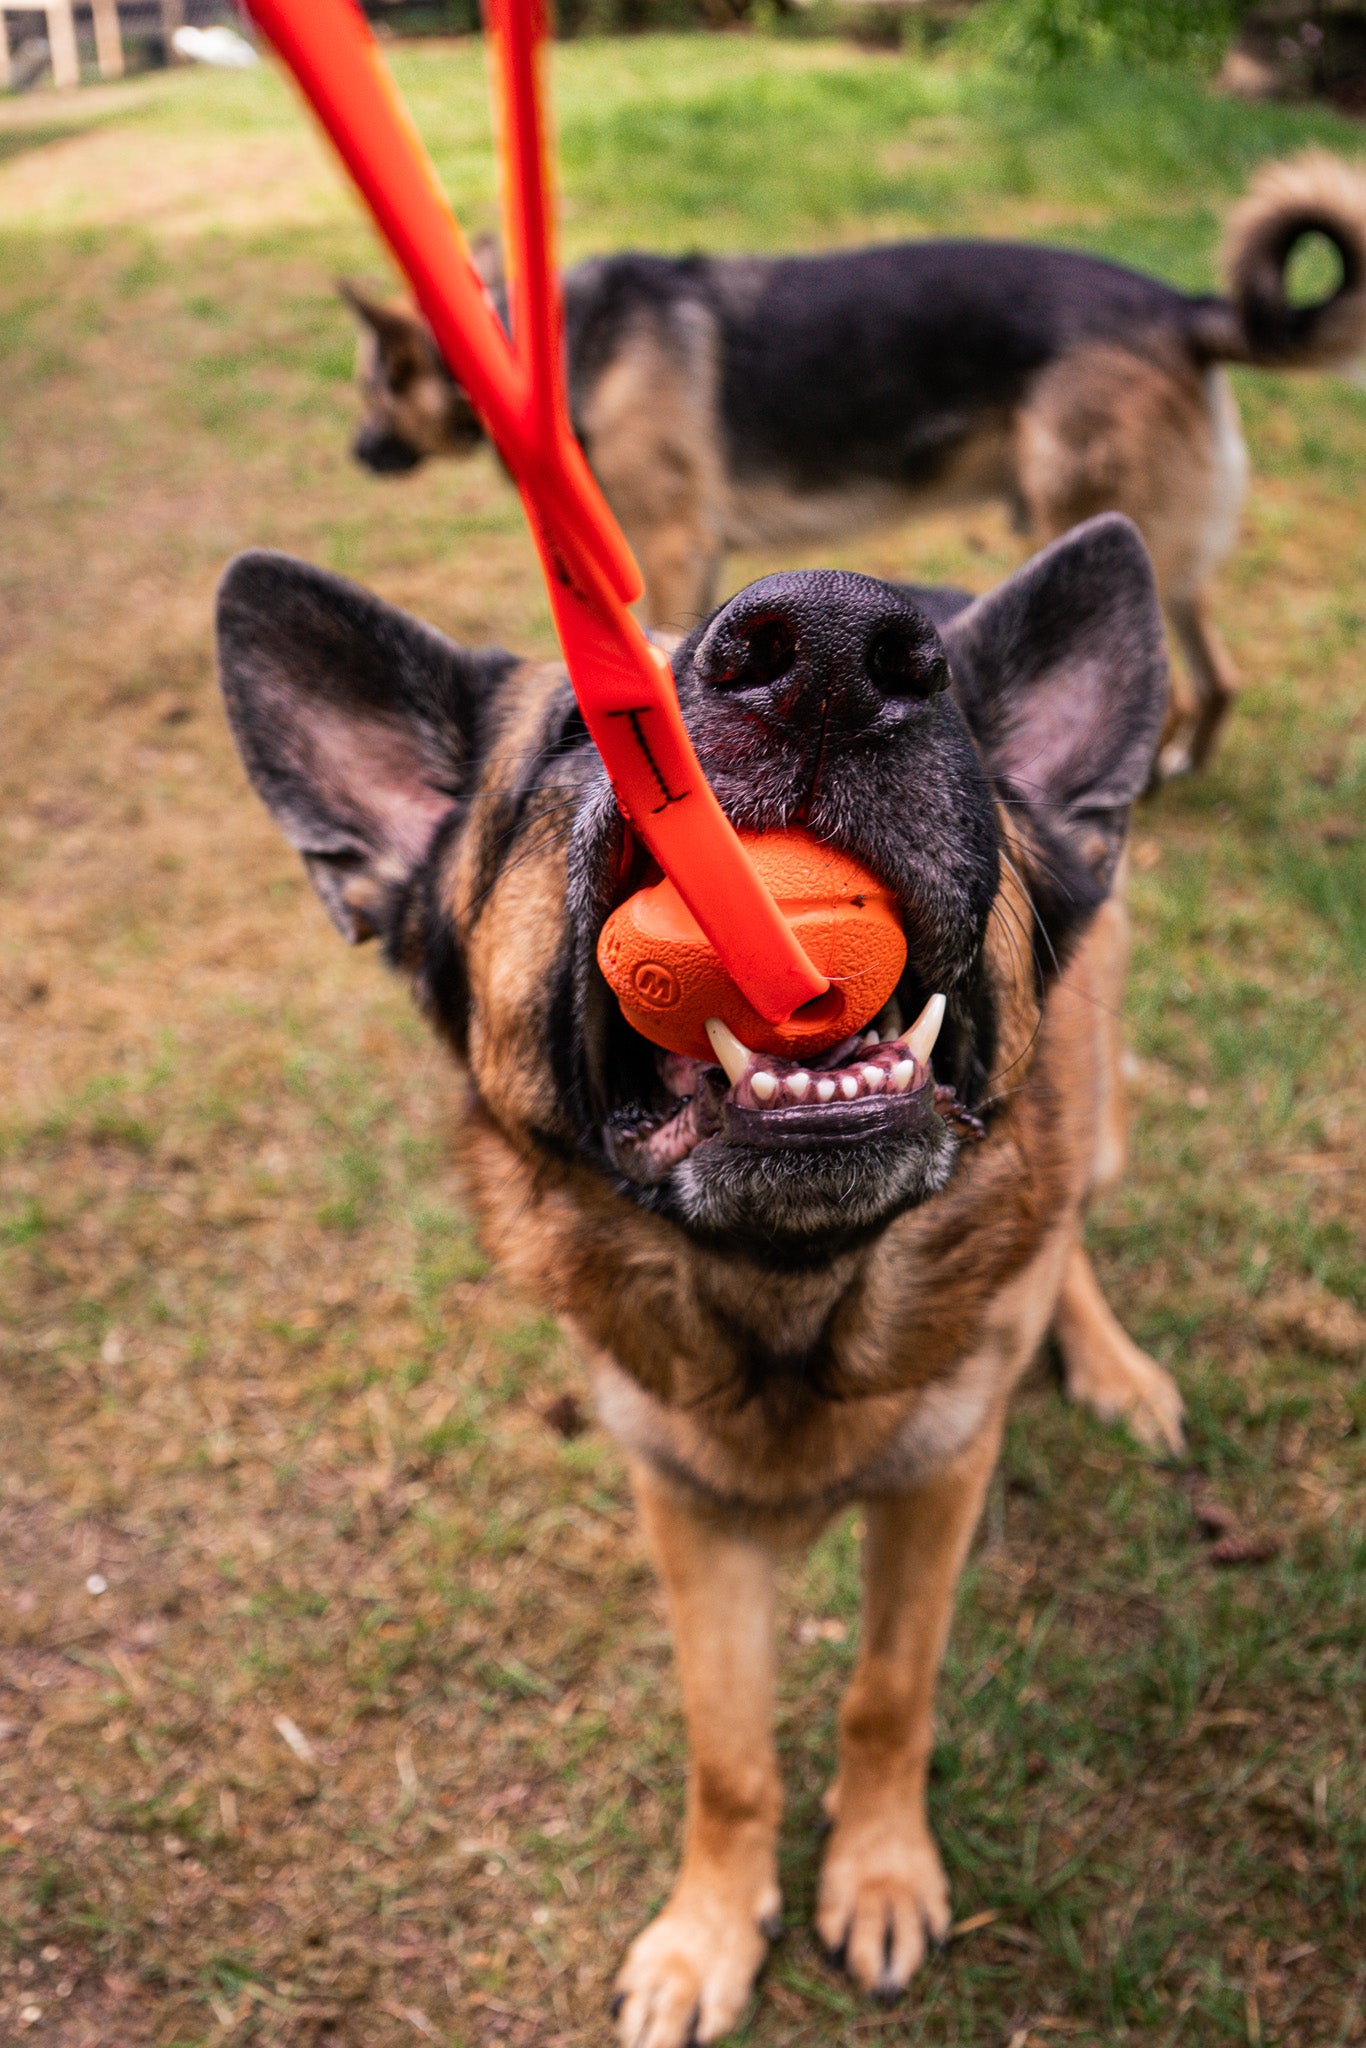
One of our favorite ways to introduce “out” or “drop it” is a two-toy game we call “two ball.” Despite the name, you don't actually need to use balls. Two identical tug toys work extremely well, especially for dogs that are highly motivated by movement and interactive play.
The concept is simple: your dog gets one toy, brings it back, releases it because you've made the second toy exciting, and immediately earns another chase or game.
At first, you don't even need to tell your dog to drop the toy. You build the behavior first. Once the release becomes predictable, you give it a name.
That's the part that matters.
What Is the Two-Toy Method for Teaching “Drop It”?
The two-toy method uses two toys of equal value to teach a dog that releasing one toy gives them access to another.
Rather than physically taking a toy away, you make the second toy interesting enough that your dog voluntarily releases the first one. The instant they let go, you mark that behavior and bring the second toy to life.
With repetition, the sequence becomes:
Get it → bring it back → release → marker → another toy gets thrown → repeat.
Eventually, you add “out” or “drop it” immediately before the release your dog is already offering.
This is especially useful for toy-motivated dogs because the reward for releasing the toy is often more play.
If you're still figuring out what kind of toy gets your dog excited, our guide to tug toys for dog training covers how training toys can be used as interactive rewards rather than everyday chew toys.
What You'll Need
Keep the setup simple.
You'll need two identical—or as close to identical as possible—balls or tug toys, enough room to toss the toy safely, and a dog interested in chasing or playing with toys.
Why two identical toys?
Because the trade works best when the dog doesn't feel like they're giving up the good toy for the boring one.
If Toy A is your dog's absolute favorite and Toy B barely gets a second glance, you're starting with an unnecessary disadvantage. Two matching toys help keep the value of each side of the exchange relatively even.
For dogs that enjoy tug-style rewards, you can browse Bolder K9's training tug toy collection to see the types of toys we're talking about.
Step 1: Start With “Get It”
Have both toys ready, but keep the second one out of the picture initially.
Get your dog interested in Toy #1 and say:
“Get it.”
Then toss it.
At this stage, don't worry about “out” or “drop it.” We aren't trying to teach five things at once. We want your dog to chase the toy, grab it, and ideally return toward you with it.
When your dog starts coming back, that's when Toy #2 enters the game.
Step 2: Make the Second Toy Come Alive
As your dog approaches with Toy #1, show them the second toy and use movement to make it interesting.
Move it away from the dog. Drag it. Bounce it around. Act like this toy suddenly became the most interesting thing happening in the entire training area.
Movement matters.
Simply holding Toy #2 directly in front of your dog may not create much motivation to switch. For many toy-driven dogs, a toy moving away from them is far more interesting than one being pushed toward them.
The goal isn't to physically remove Toy #1.
The goal is to make your dog think:
I want THAT one.
And in order to grab Toy #2, they have to open their mouth.
That gives you the behavior you wanted without creating a fight over the first toy.
Step 3: Mark the Release
Watch your dog's mouth carefully.
The instant Toy #1 falls out, use your established positive marker.
For many handlers, that's something like:
“Yes!”
Then immediately throw or activate Toy #2.
Timing matters here.
You're marking the release, not the dog grabbing the second toy. The clearer you can make that moment, the easier it is for the dog to understand which behavior made the next round of play happen.
Drop Toy #1 → marker → Toy #2 comes alive.
That's the game.

Step 4: Pick Up the First Toy and Repeat
While your dog chases or grabs Toy #2, pick up Toy #1.
When they return, repeat the same process.
Show them Toy #1.
Make it move.
Wait.
Dog releases Toy #2.
Mark.
Throw Toy #1.
Then do it again.
This repetition is where the learning happens.
You aren't repeatedly pulling things out of your dog's mouth. You're creating a predictable pattern in which letting go is what restarts the fun.
That distinction can be particularly helpful with enthusiastic, high-drive dogs. Instead of release meaning, “My human takes my toy away,” you're building a history in which release means, “We're about to do something again.”
Step 5: Don't Add “Out” Too Early
This is one of the most important pieces.
It's tempting to start saying:
“Out. Out. Out. Out…”
while your dog is still hanging onto the toy.
Don't.
At that point, the dog doesn't necessarily know what “out” means. Repeating the word doesn't explain it.
Instead, spend enough time playing the two-toy game that you start recognizing the moment when your dog is about to release the toy.
You show the second toy.
Your dog comes in.
You animate it.
And you can see that release coming.
That's when you begin adding the cue.
Step 6: Pair “Out” or “Drop It” With the Behavior
Once your dog is predictably releasing Toy #1 when you present Toy #2, say your chosen cue just before they let go:
“Out.”
Dog releases.
“Yes!”
Throw Toy #2.
Or:
“Drop it.”
Dog releases.
“Yes!”
Throw Toy #2.
You're now pairing a word with a behavior the dog already understands.
Over enough successful repetitions, the verbal cue starts predicting the release.
This progression—getting the behavior reliably first and then adding the verbal cue as the dog is about to perform it—is also consistent with commonly used approaches for teaching “drop it.”
Should I Use “Out” or “Drop It”?
Either can work.
Your dog doesn't care whether the cue is “out,” “drop it,” “release,” or something completely different. What matters is that you choose a cue and use it consistently.
In many working- and sport-dog environments, you'll hear “out.” In pet-dog training, “drop it” is extremely common.
Pick the language that makes sense for you and stick with it.
One useful distinction, however, is between “drop it” and “leave it.”
“Drop it” generally asks the dog to release something already in their mouth.
“Leave it” generally asks the dog not to pick something up or interact with it in the first place.
Those are two different behaviors, and it's worth teaching them separately.
Why Movement Makes This Game Work
If your dog loves toys, don't underestimate movement.
A tug sitting motionless on the floor isn't necessarily exciting. That same tug moving quickly away from the dog can be a completely different story.
That's one reason tug toys can be such effective training rewards: the handler is part of the reinforcement.
You control when the toy comes alive.
This can also be useful when you're developing toy motivation more generally. We cover that concept further in our guide to transitioning from food rewards to tug toys.

Common Mistakes When Teaching “Out”
Pulling the toy out of the dog's mouth
If your goal is a voluntary release, give your dog the opportunity to actually make that choice.
The second toy is there to create the motivation to open their mouth.
Repeating the cue
“Outoutoutoutout” quickly becomes background noise.
Say the cue once when you have a reasonable expectation that the behavior is about to happen.
Adding the cue before the dog understands the game
You don't need to name a behavior your dog isn't performing yet.
Build the pattern first. Add the word when the release is becoming predictable.
Using two toys with very different values
If your dog thinks one toy is dramatically better than the other, don't be surprised when they refuse to trade.
Start as evenly matched as possible.
Being too boring with the second toy
Remember: movement creates interest.
Don't just hold Toy #2 in front of your dog's face and hope they'll make the switch. Make it worth chasing.
Ending the game every time your dog releases
Imagine if every time someone said “drop it,” your favorite thing disappeared and the fun ended.
You might not be terribly enthusiastic about dropping things either.
During the learning stage, continuing the game helps make releasing worthwhile. The dog discovers that giving something up doesn't automatically mean losing access to everything fun.
How Long Should You Practice?
You don't need marathon training sessions.
A handful of clean, enthusiastic repetitions is often more useful than continuing until the dog gets tired, frustrated, distracted, or sloppy.
Think quality over quantity.
If your dog is flying back to you, switching toys quickly, and clearly wants another repetition, you're in a good place.
Sometimes ending while your dog still wants more is exactly what you want from a training-toy session.
And remember: a tug used for training is different from a chew toy. Training tugs are intended for interactive, supervised play, not to be left with the dog to chew on after the session.
When Can You Start Using “Drop It” Without the Second Toy?
Don't rush this step.
First, look for a dog that responds to the verbal cue rather than one that only releases after seeing Toy #2 waving around.
As the association gets stronger, you can begin giving the cue before presenting the second toy.
For example:
“Out.”
Pause.
Dog releases.
Mark.
Then produce and throw the second toy.
Gradually, the verbal cue itself becomes meaningful.
From there, you can practice the behavior with different appropriate toys and in different environments. Dogs don't always automatically understand that a skill learned with one specific toy applies to every object and situation, so build difficulty gradually.
What If My Dog Won't Bring the Toy Back?
Then “drop it” may not actually be the first piece you need to work on.
If your dog grabs the toy and takes off in the opposite direction, focus first on making you part of the game.
Move away from your dog rather than chasing them. Be interesting. Keep sessions energetic and give them a reason to come back toward you.
The two-toy game works best when returning to the handler is already valuable—or is becoming valuable through the game itself.
What If My Dog Won't Drop the First Toy?
Look at the setup before assuming your dog is being stubborn.
Is Toy #2 actually as valuable as Toy #1?
Are you moving it enough?
Are you trying to take Toy #1 away?
Is your dog getting tired?
Is the environment too distracting?
Would a different style of toy create more engagement?
Train the dog in front of you rather than forcing the method.
For some dogs, food may be a better starting point. For others, another toy is significantly more rewarding than food. Established training approaches use both methods; the important concept is creating a worthwhile exchange and reinforcing the voluntary release.
If you're trying to figure out what style of tug your dog is most likely to enjoy, Bolder K9's Tug Finder can help narrow down the options.
A Note About Resource Guarding
This game is designed to teach a cooperative release during play. It is not a treatment plan for resource guarding.
If your dog freezes, stiffens, growls, snaps, guards objects, or has a history of biting when people approach possessions, don't turn retrieving the object into a confrontation. Resource guarding deserves an individualized approach, and working with a qualified trainer or behavior professional is the better next step.
Likewise, an “out” cue should never be treated as a guarantee that a dog will release every dangerous object in every situation.
Training builds skills. It doesn't eliminate the need for management and supervision.
FAQ: Teaching a Dog “Out” or “Drop It”
What is the easiest way to teach a dog to drop a toy?
For a toy-motivated dog, using two identical toys can make the concept very clear. Let the dog have one toy, make the second toy exciting, mark the moment the dog releases the first, and immediately reward the release by throwing or playing with the second toy.
Can you teach “drop it” with a tug toy?
Yes. A tug can work particularly well because the handler can use movement to increase the value of the second toy. Use two similar tugs and keep the exercise interactive and supervised.
Why should I use two identical toys?
Matching toys help prevent one side of the trade from being substantially more valuable than the other. If your dog strongly prefers one toy, they may have little reason to release it for the second one.
When should I say “drop it”?
Ideally, add the verbal cue once your dog is already predictably releasing the toy. Say “drop it” or “out” just before the release, mark the successful behavior, and reward it with the next repetition.
Should I say “out” or “drop it”?
Either is fine. Consistency is more important than the specific word. Choose one cue and use it consistently for releasing an object from the mouth.
Is “leave it” the same as “drop it”?
No. “Leave it” typically means don't pick up or interact with something. “Drop it” or “out” means release something that's already in the dog's mouth.
What if my dog only drops the toy when they see the second toy?
That's normal during the early stages. Once the pattern is reliable, begin saying your verbal cue before showing or moving the second toy. You can gradually make the second toy less visible so the dog learns to respond to the cue rather than waiting for the visual prompt.
Can I use this method with a puppy?
Yes, provided the toy, environment, and style of play are appropriate for the individual puppy. Keep sessions short, fun, and low-pressure. You're building an association between engaging with you, releasing the toy, and getting another opportunity to play.
The Bottom Line
A reliable “out” doesn't have to start with telling your dog to let go.
Sometimes it's easier to teach the release first and name it later.
With the two-toy game, your dog learns a simple pattern:
Get it. Bring it back. Let go. Get rewarded with another round.
Once that pattern becomes predictable, add “out” or “drop it” immediately before the release.
Keep your marker timing clean. Keep the second toy moving. Don't turn the release into a wrestling match. And don't be in a hurry to remove the reward that made the behavior worth doing in the first place.
The goal isn't just a dog that gives up a toy.
It's a dog that understands that letting go is part of the game.